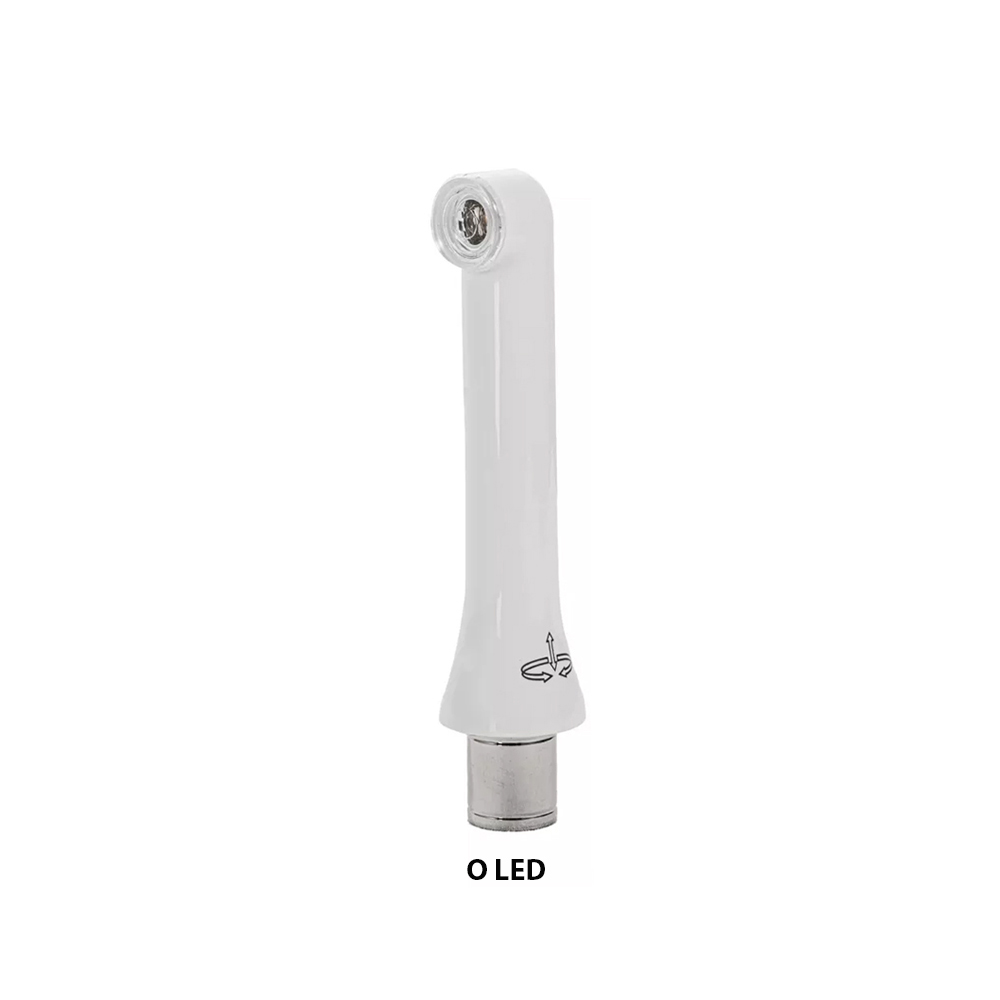
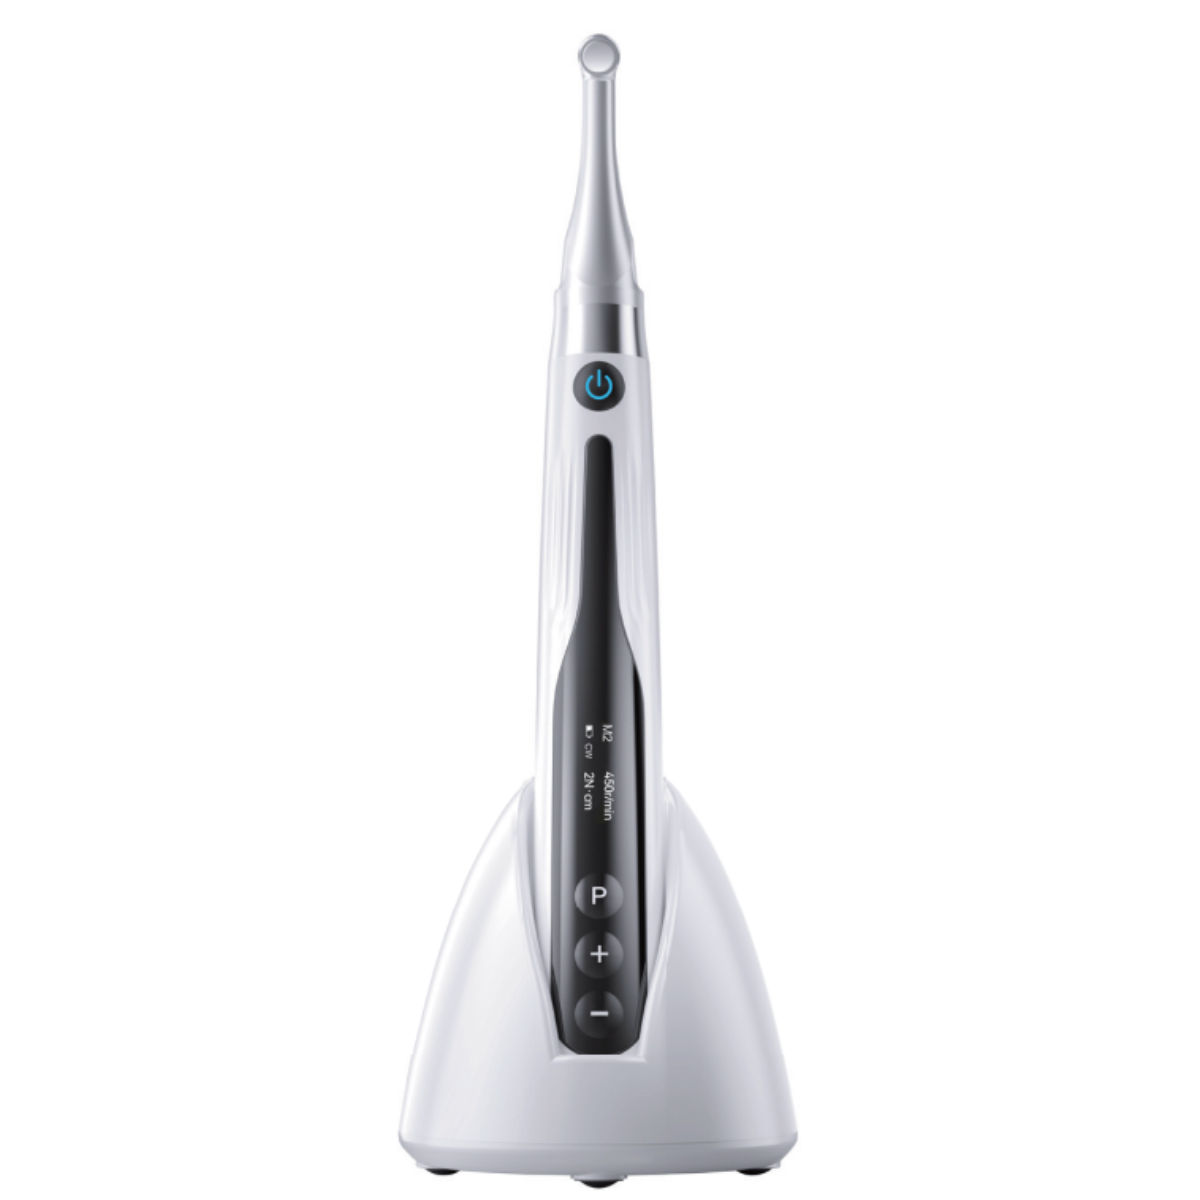

- Power On and Off (Starting and Stopping the Motor Handpiece)
Power On:
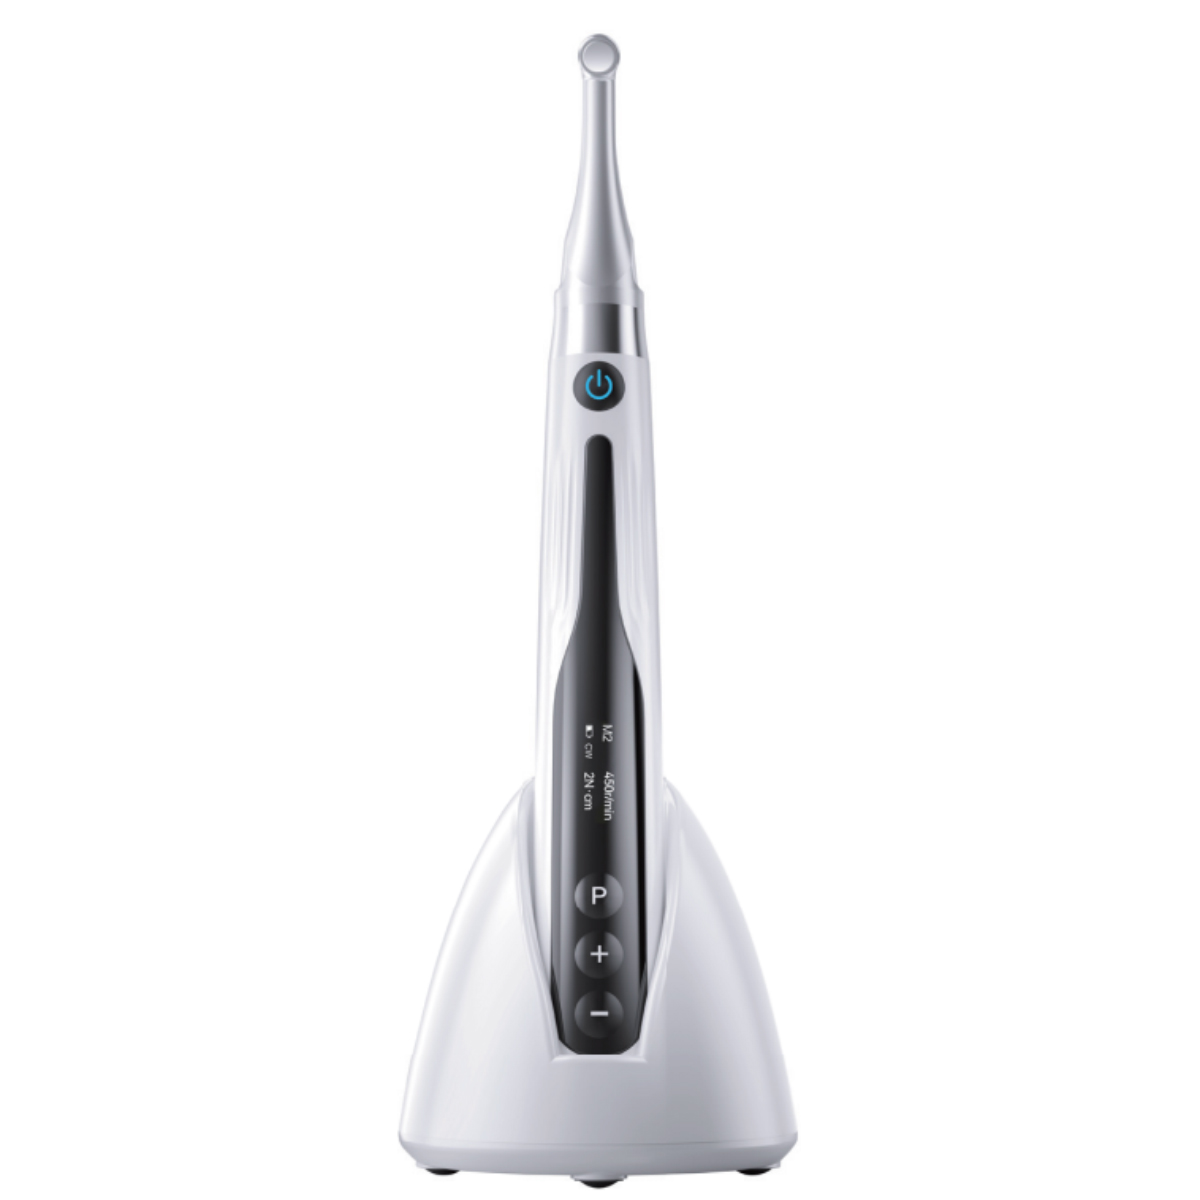
- With the motor handpiece powered off, press the Main button. The screen will display “Endo Space,” and the motor handpiece will enter the Standby interface. This is the mode it last exited
- Press the Main button again to enter the Working interface
- Press the Main button again to return to Standby
Power Off:
- Hold down the Setting button “P” and then press the Main button to turn off the motor handpiece.
- In the Standby interface, the motor will automatically shut down after 3 minutes if no button is pressed.
- Selecting Customized Program Sequence Number
In Advanced Mode:
- The motor has 10 memory programs (M0-M9) and 5 preset programs. Use the Adjusting button “+” or “-” to change the program sequence number during standby
- Each memory program (M0-M9) is customized for canal preparation and measurement, with parameters like operation mode, speed, and torque that can be adjusted
In Simple Mode:
- The motor has 6 memory programs (M0-M5). Use the Adjusting button “+” or “-” to change the sequence number
Handpiece Function Settings:
- With the motor powered off, hold down the Setting button “P” and press the Main button to enter the handpiece functions setting
- Target Setting: Press the Setting button “P” to enter target settings, use Adjusting buttons “+” or “-” to adjust, and press the Main button to confirm
Software Version and Auto Power Settings:
- Press and hold the Setting button “P” and then press the Main button to view the Software Version
- After 3 seconds, it will automatically jump to the Auto Power Off time setting interface. Adjust from 3 to 30 minutes using the Adjusting button “+” or “-” and confirm with Main
Auto Standby Setting:
- Press the Setting button “P” again to adjust Auto Standby. This will return the handpiece to Standby after a set time (from 3 to 30 seconds)
Dominant Hand Setting:
- Set the Dominant Hand (Right or Left) using the Adjusting button “+” or “-” and confirm with the Main
Calibration:
- Calibration is activated by pressing the Setting button “P” and selecting ON. The motor speed will increase from slow to fast during calibration. Ensure the original contra angle is installed
Beeper Volume Setting:
- Set the Beeper Volume from 0-3 using the Adjusting button “+” or “-“. A setting of 0 means mute
Operation Mode:
- The following 5 operation modes are available: CW, CCW, REC, ATR, and EAL. These can be adjusted based on user preference. The Main button is used to confirm the operation mode
Restore Defaults:
- The Restore Defaults option resets all settings. Press the Adjusting button “+” or “-” to select ON and confirm with Main
Advanced Settings
- Speed and Torque: Speed can be adjusted from 100 r/min to 1800 r/min, and torque from 0.4 N.cm to 5.0 N.cm
- Apical Action: Select between OFF, Stop, or Reverse actions depending on the reference point inside the canal
Motor Operation
- Motor Mode: In Motor Alone Mode, the torque bar will show on the screen
- Canal Measurement Mode: If using the motor’s combined canal measurement function, connect the measuring wire with the motor handpiece and the lip hook to the patient’s lip
Connection Testing:
- Always test the connections before use, especially the connection between the lip hook and motor handpiece
Additional Notes:
- Ensure that the file system is compatible with the operation mode, and always test the motor for proper function before performing canal treatments
- The auto-reverse function works only in CW mode and may be disabled in CCW and ATR modes